MICR stands for Magnetic Ink Character Recognition code which is a character-recognition technology used by Bank to process checks. The MICR line is at the bottom of the check which has a check number, bank code, and account number and control character.
Banks in the United States of America use MICR / E13-B fonts. Oracle provides Micr MT (MICR____.ttf) font that supports E13-B format as well. Check if the bank accepts that font else you can purchase commercially available fonts in the Market.
You need to install and configure a special MICR font to print the MICR line on Checks in Oracle Cloud/Fusion Application.
Let’s see how to do it.
There is no need to install MICR font if you are using Oracle supplied default MICR font. Just need to create the font mappings in the BI Publisher Admin page.
If you have purchase MICR / E13-B font, then follow the below steps.
Note: – It is really challeging to have MICR line printed accurately on checks during development. Recommed to use MICR Guage which can ease development time and save lot of time and effort.
1. Upload MICR / E13-B font file in Oracle BI Publisher
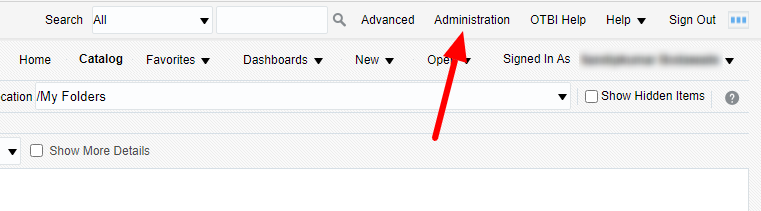
Log in to Oracle Cloud instance, and navigate to Tools -> Reports and Analytics. Click the Browse Catalog button. Next, click the Administration link on the right-hand top of the windows to open the administration page.
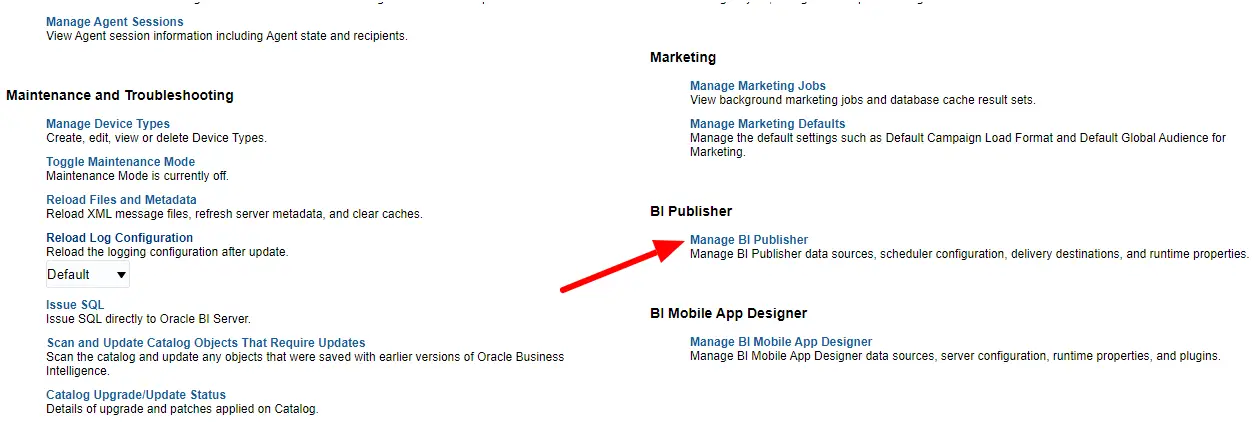
Now, go to the BI Publisher section and click on Manage BI Publisher link.
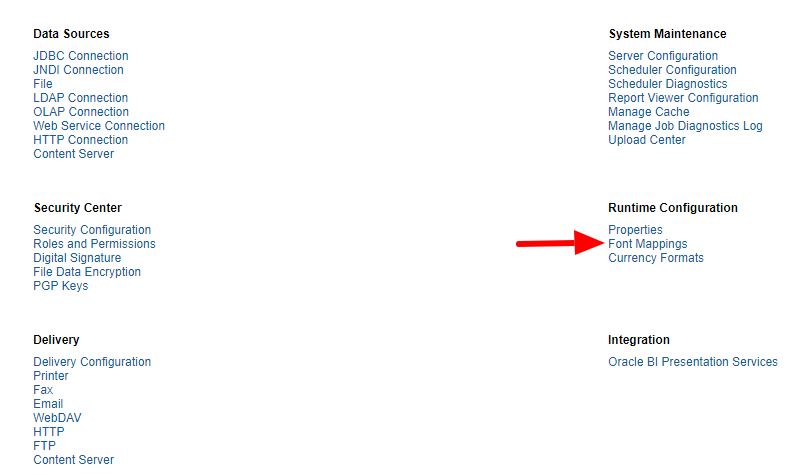
Next, go to the Runtime Configuration section and click on the Font Mappings link.
This opens the window as shown below where you can upload custom font and create font mappings.
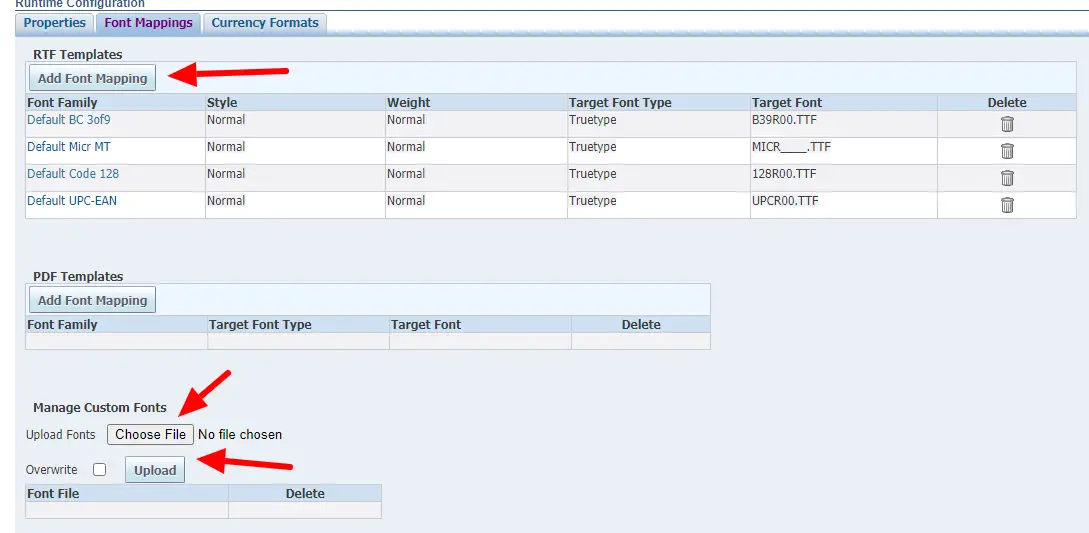
Go to the Manage Custom Fonts section and click on the Choose File button. Browse and upload the font file(.TTF). Font upload records should be available just below the Upload button.
2. Create font Mappings
Go to the RTF Templates mapping section and click on Add Font Mapping.
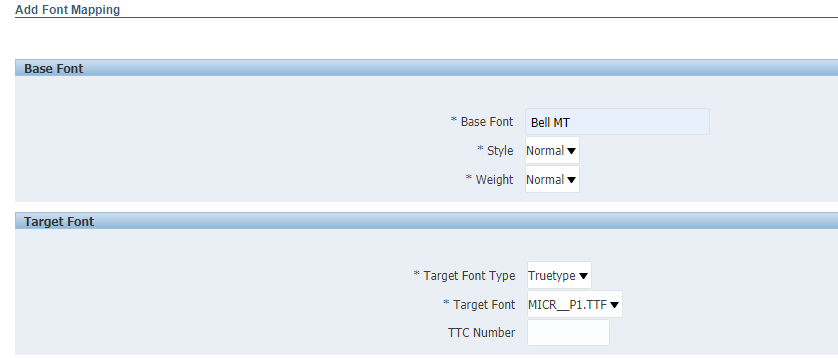
Enter the base font. This is the font you will use in RTF. Choose the font which is rarely or never used in Regular work and choose the target font which you just uploaded.
BI Publisher replaces this font with MICR during the run time.
Similarly, you can add PDF mappings if required.
Summary
That’s it…!!!
You have successfully installed MICR font and created required mapping in the Oracle BI Publisher cloud(Fusion) instance. Just do a check payment and see if the font is getting displayed properly.
I hope you liked this article. Please share and subscribe.
