Oracle Database 11g is an enterprise database by Oracle. It delivers industry-leading performance, scalability, security, and reliability on a choice of clustered or single servers running Windows, Linux, and UNIX along with comprehensive features to easily manage the most demanding transaction processing, business intelligence, and content management applications.
Below are the new features introduced,
- Database Replay
- Flashback Data Archive
- Edition-based Redefinition
Let’s see how to install Oracle 11G Database on Windows 10.
1. Download 11G Database
Click to Download Oracle 11G database. You need an Oracle account to download any software. Click on Accept License Agreement. Enter the username and password.
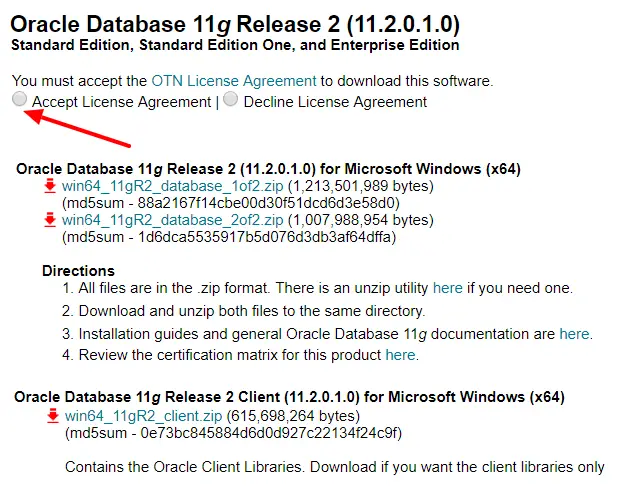
Download both win64_11gR2_database_1of2.zip, win64_11gR2_database_2of2.zip.Below is the step-by-step installation steps.
2. Unzip installer files
Next, unzip both zip files in the same folders. If you unzip in a different folder then copy the stage folder from win64_11gR2_database_2of2\database\ to \win64_11gR2_database_1of2\database\ folder.
Now click on the setup.exe file to start the installation. Oracle quickly does the pre-requisite check and launches the Universal Installer.
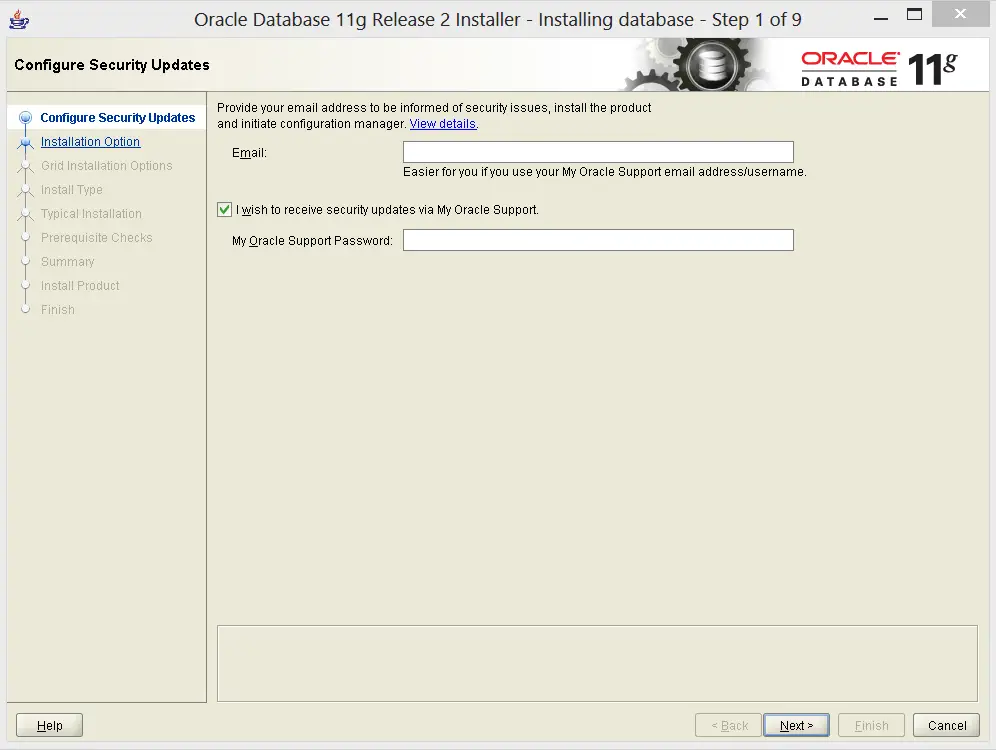
3. Configure Security Updates
Provide your email address to receive security issue information. It is optional. Unselect I wish to receive security updates via My Oracle Support.
If you have this information you can enter it.
4. Installation option
Now select the database installation option.
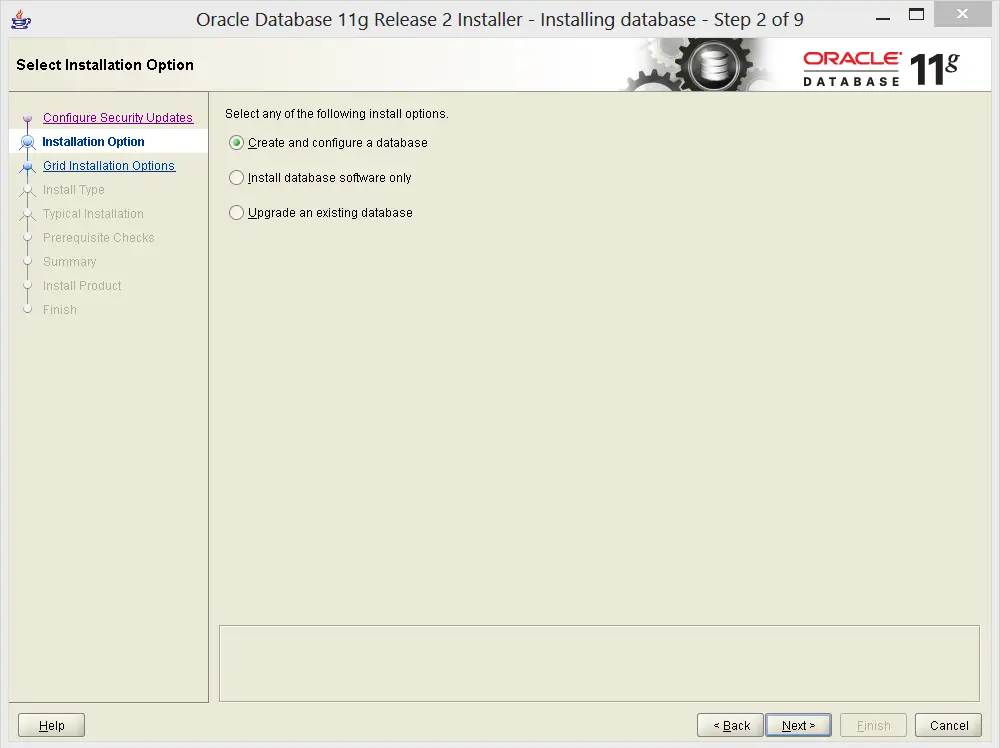
- Create and configure database – This option creates and configures a database.
- Install database software only – This installs only database software. Post-installation you need to manually create and configure the database.
- Upgrade existing database – This upgrades the existing database.
Select the default and click the Next button.
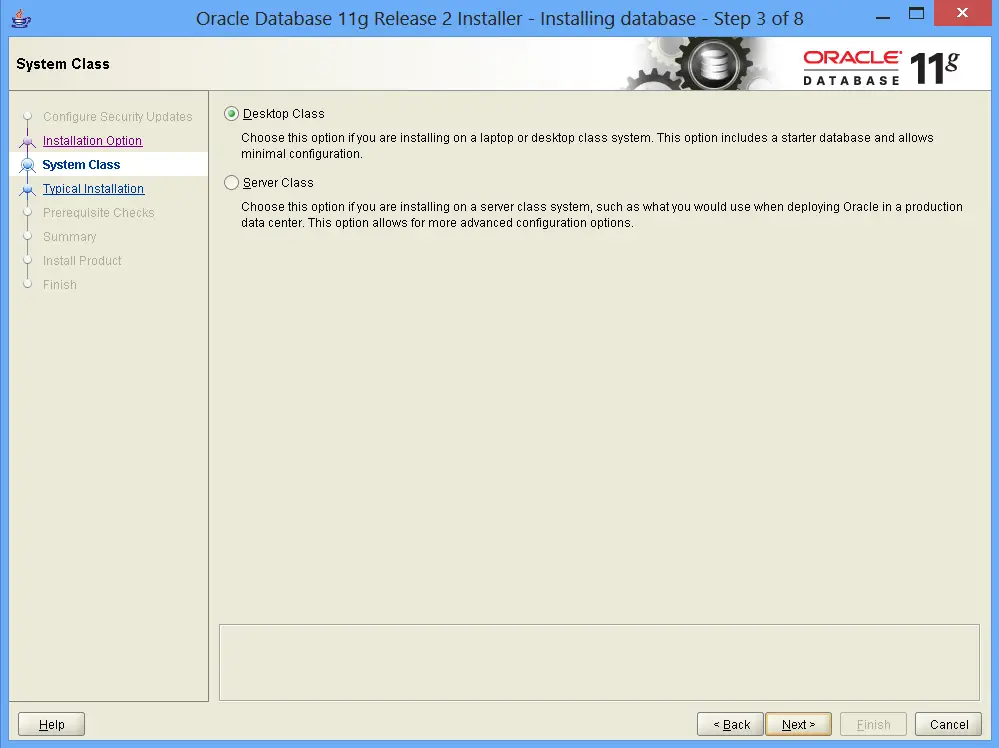
5. System Class
Select either Desktop Class or Server Class and click the Next button.
6. Database configuration
Installed defaults on all basis configurations like Oracle base, Software location, and Database file location. Click browse and select a different location to change it.
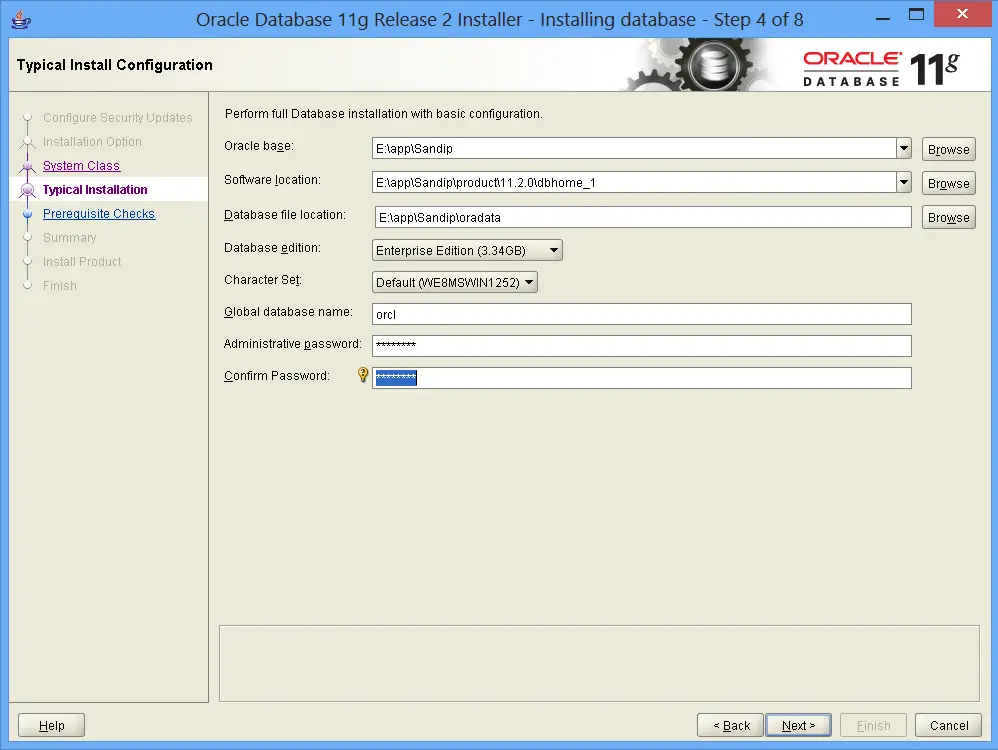
The installer creates a global database with the name orcl. Enter the Administrative password and enter the same password in Confirm Password field and click Next
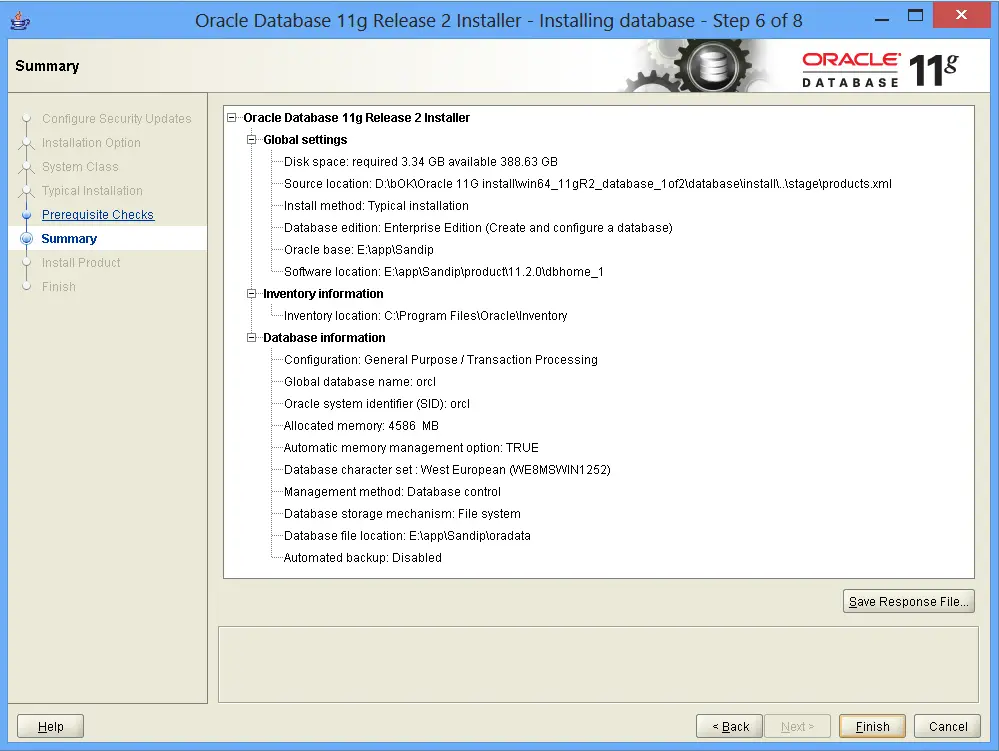
7. Summary
This screen shows a summary of the installation. Review it. If it is fine click on the Finish button or click on the Back button to change.
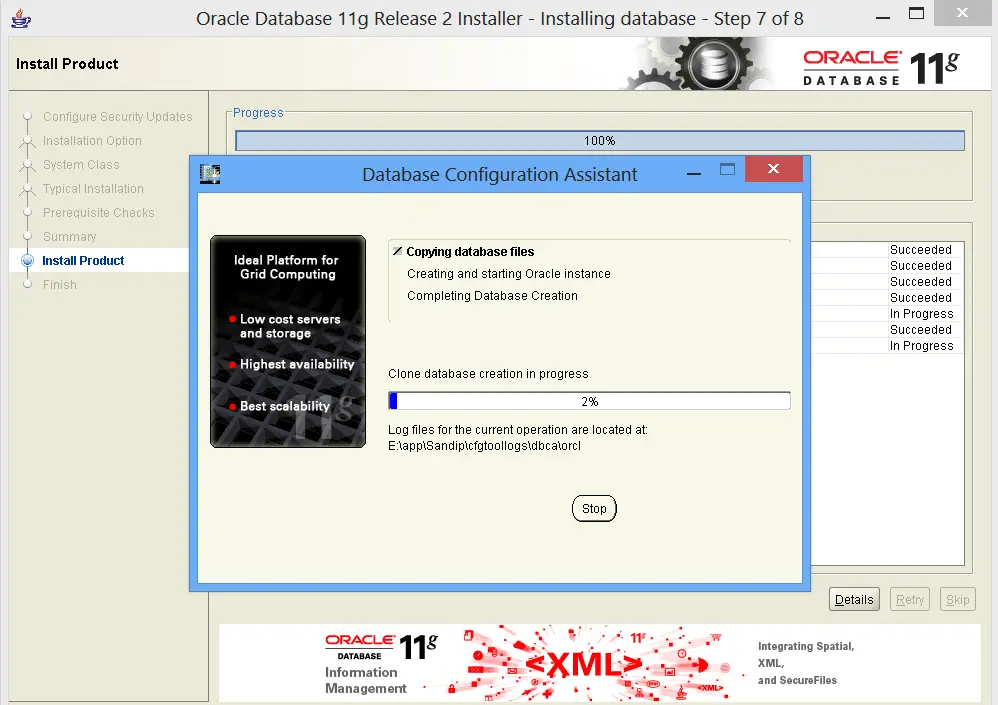
8. Install Product
The installer starts and copies all necessary files.
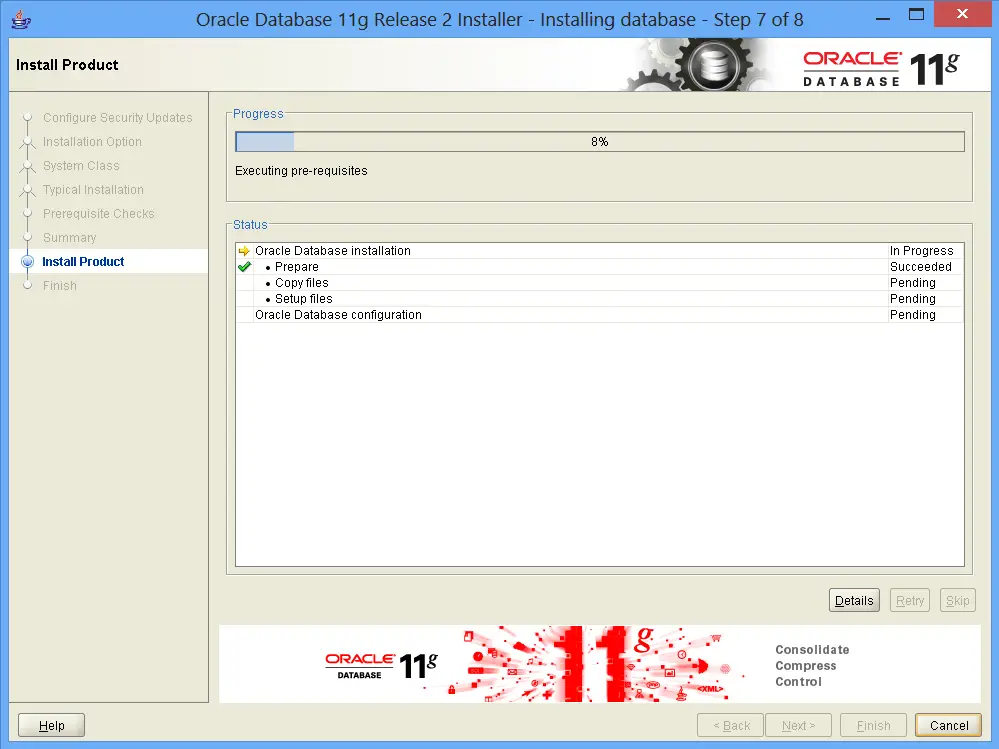
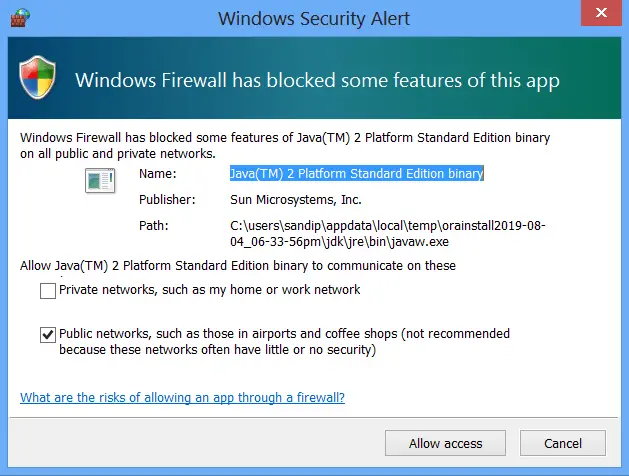
Click Allow Access.
9. Database Configuration Assistant
The installer creates and configures the database.
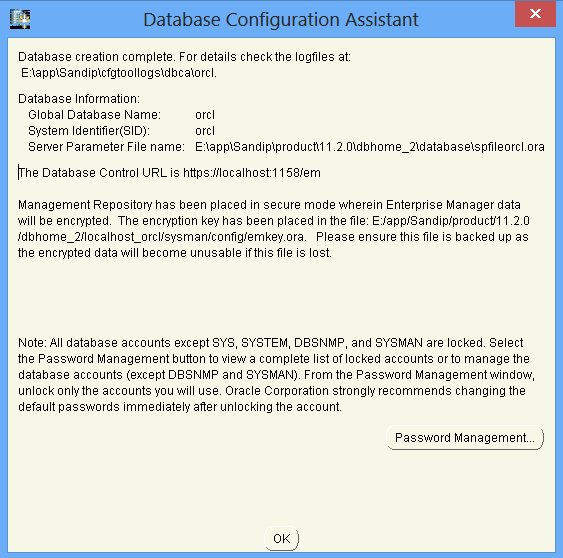
The below popups shows database information. Click Ok to finish the installation.
Summary
In this guide, we explained how to install Oracle Database 11G Release 2 on Windows.